Your Park Hill Tudor has soul. Today’s buyers also want ease, light, and smart updates that feel move‑in ready. The good news is you can deliver both by staging to celebrate the architecture while editing for a clean, modern experience. In this guide, you’ll learn how to spotlight the right features, where to invest for the biggest return, and what to know about local rules before you lift a paintbrush. Let’s dive in.
Why Park Hill Tudors attract buyers
Park Hill’s early 20th‑century homes draw people who value character and proximity to parks, museums, and the zoo. Nearby public projects, like the Park Hill Golf Course conversion now in the design phase for Park Hill Park, signal long‑term investment in green space that you can highlight in marketing copy for lifestyle appeal. You are selling both a home and a neighborhood experience. Position your Tudor as the best of both.
- Reference for project context: see coverage of the Park Hill Park design phase from Axios. Axios reports the Park Hill Park site is in design.
What to preserve and showcase
Distinct Tudor features to highlight
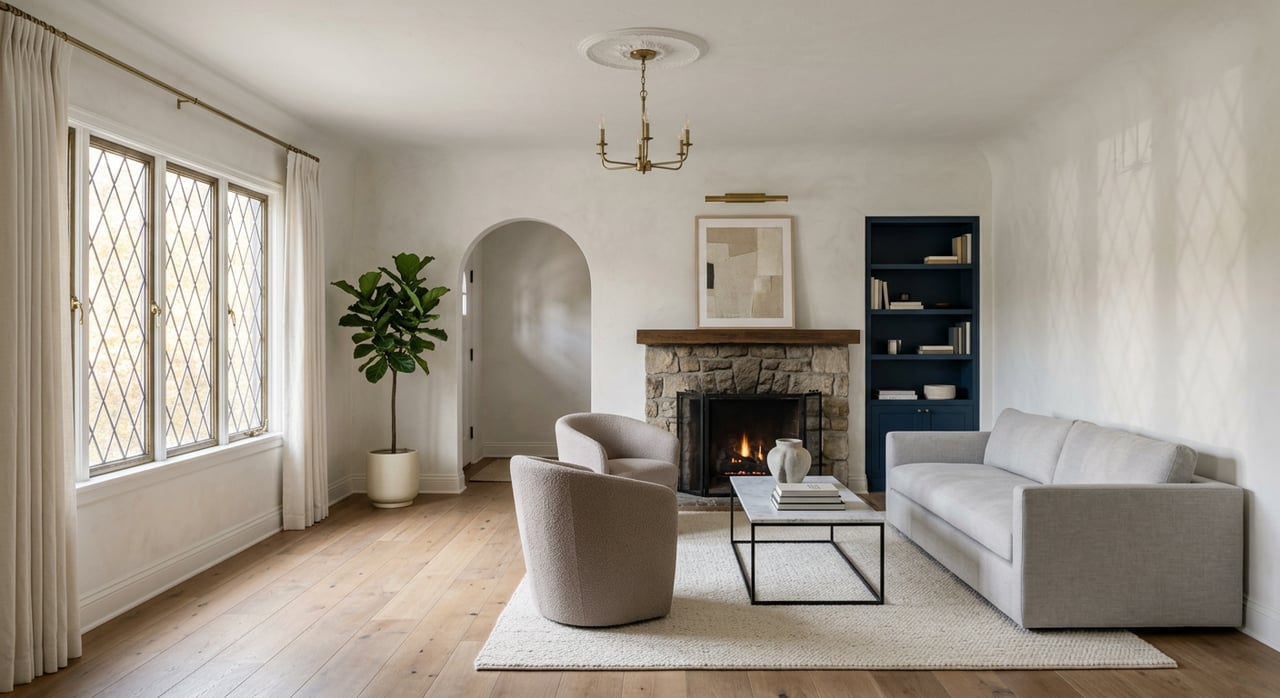
Tudors have clear character cues that buyers notice right away. Think steep gables, half‑timbering, brick or stone accents, tall chimneys, grouped casement windows with leaded or diamond panes, arched doors, exposed beams, textured plaster, paneled woodwork, and prominent fireplaces. These are your stars. Stage so the eye lands on them first. For a quick primer on these defining details, see Colorado’s field guide to historic architecture. Review character‑defining Tudor elements.
Avoid hiding original details
Preservation guidance prioritizes repair and gentle treatment of historic materials. Do not paint over intact leaded glass, strip patinated woodwork, or cover built‑ins with heavy drapery. For historic windows, national guidance recommends repair and weather‑stripping, and often adding well‑fitted storm windows instead of wholesale replacement. Read window and materials guidance drawn from NPS briefs.
Staging priorities that move the needle
Focus your top three rooms
Industry research shows staging dollars work hardest in the living room, primary bedroom, and kitchen. Buyers picture daily life in these spaces first, and photos of these rooms drive online clicks. If your budget is limited, stage or partially stage these areas before you touch anything else. See NAR’s latest profile of home staging priorities.
Edit, scale, and place for flow
Start with a full edit. Remove personal photos, excess books, bulky recliners, and oversized sectionals that shrink Tudor rooms. Choose scaled pieces, pull furniture off walls, and create clear paths that aim the view toward the fireplace, arched openings, and grouped windows. Keep surfaces styled but simple to let craftsmanship read as the hero.
Create small lifestyle vignettes
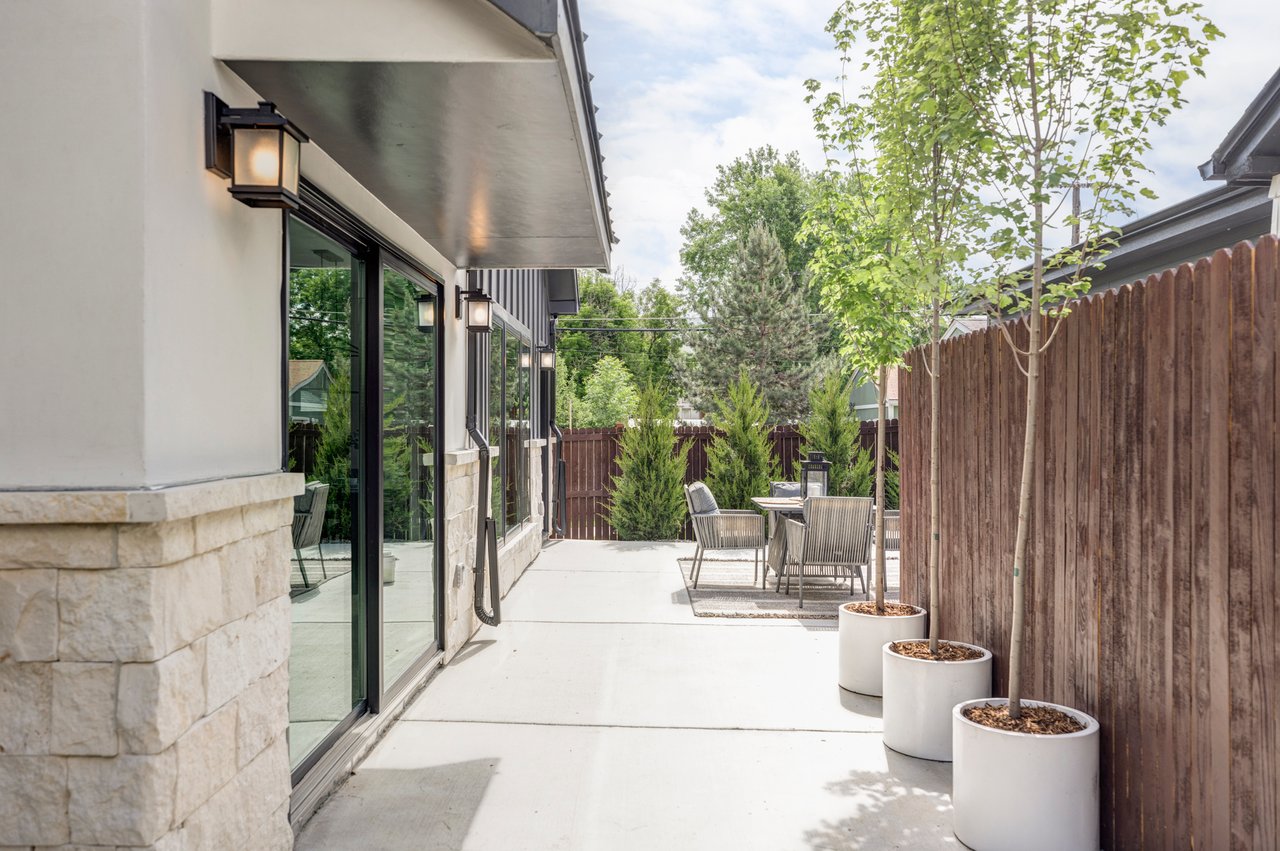
Show function in every nook. A reading chair by a leaded window with a slim floor lamp. A tidy writing desk tucked beneath a beam. A classic bistro set on the stoop if space allows. These micro‑moments help buyers imagine living well in a period home, without adding clutter.
Paint and palette for warmth
Wall colors that respect wood trim
If your Tudor has original dark wood, choose warm neutrals so the contrast feels intentional rather than gloomy. Soft warm white or a light greige can brighten textured plaster while keeping the depth of beams, paneling, and stone. Sample on multiple walls and check in morning, afternoon, and evening light.
Where a deeper accent works
A deeper, period‑sensitive hue can elevate built‑ins, a mudroom cabinet, or the front door. Deep olive, rich navy, and restrained terra cotta tones read timeless in this architecture when used sparingly. Designers often pull from Benjamin Moore’s Historical Collection for a balanced, classic palette. Explore historically sympathetic color families.
Windows, light, and hardware
Keep leaded glass visible
Avoid heavy, light‑blocking window treatments. Use tailored roller shades or light linen drapes hung high and wide so natural light and muntin patterns show. If comfort is a concern, consider repairing original wood windows and adding storms to improve performance while keeping the look. See preservation‑minded window recommendations.
Layer lighting with period‑compatible fixtures
Update dated fixtures with warm metal finishes that feel at home with plaster, wood, and stone. Use a simple three‑layer plan: ambient for overall glow, task for counters and reading, accent to graze beams or stone. Keep bulb color temperature in a warm range so the architecture feels inviting, not cold.
Refresh hardware for instant polish
New cabinet pulls, door levers, and backplates can modernize quickly at a manageable cost. Choose classic shapes in unlacquered brass, oil‑rubbed bronze, or blackened metal to bridge old and new. Consistency across rooms creates a subtle, high‑end finish.
Kitchens and baths buyers love
You do not need a gut renovation to win buyer confidence. Focus on cleanliness, working fixtures, bright task lighting, and updated hardware. If budget allows, consider painting cabinets, swapping counters, or upgrading a few appliances rather than changing the layout. The kitchen is one of the top staging targets alongside the living room and primary suite, so make this space feel crisp and functional. NAR’s staging research underscores these priorities.
Floors, fireplaces, and final polish
Original hardwoods look fantastic in listing photos once cleaned and, if needed, refinished. Typical refinishing projects often land in the low‑thousands depending on size and method, and they preserve authentic material. A clean, working fireplace with a restrained mantle vignette becomes the emotional center of a Tudor living room. Get a sense of typical hardwood refinishing costs.
Cost‑smart plan by budget tier
First tier: highest return, lowest spend
- Declutter, deep clean, and complete obvious repairs.
- Stage or partially stage the living room, primary bedroom, and kitchen before photography.
- Repaint main spaces in warm neutrals that honor wood trim.
- Refresh lighting and cabinet hardware with period‑sensitive selections.
Second tier: mid‑cost, high visual impact
- Partial or full professional staging where scale and inventory matter. Industry reporting shows full‑home staging often runs in the several‑thousand‑dollar range depending on scope. See Bankrate’s overview of staging costs.
- Refinish worn hardwoods for a dramatic photo upgrade.
- Reface, paint, or refinish kitchen cabinets instead of replacing them.
Third tier: selective, only if comps justify
- Larger kitchen remodels, additions, or exterior changes. Proceed only if data and nearby comps support the spend.
- If you anticipate major work, consult preservation guidance early so changes are compatible with the architecture and potential future review.
Permits, credits, and timing in Park Hill
Check historic district status before exterior work
As of now, Park Hill is not listed as a local landmark district on Denver’s official list. Owners should verify current status before planning exterior work that might require review, especially if community efforts toward designation advance. Use the city’s published list to confirm whether your block is in a designated district. Check Denver’s current list of landmark districts.
Understand state incentives before you budget
Colorado’s preservation tax credit program was recently updated by HB24‑1314. Program caps and rules changed, so do not assume eligibility or dollar amounts without checking current guidance with the state program administrators. If you plan qualifying rehabilitation, start the certification conversation early. Review the HB24‑1314 bill page for context.
Stage before photos and launch
Plan staging install before your professional photography and go‑live date. The living room, primary bedroom, and kitchen should photograph at their best, since they drive online engagement and showing requests. Build in at least a day for final prep between staging completion and photos. See NAR’s staging priorities and timing insights.
Your listing timeline
- Week 1: Consultation, scope, and budget. Identify priority rooms and any quick repairs. Order paint, hardware, and lighting.
- Week 2: Declutter, donate, and pack. Schedule painter and handyman. Confirm stager and photography dates.
- Week 3: Paint, lighting swap, hardware updates, deep clean. If refinishing floors, coordinate with painter for sequencing.
- Week 4: Staging install, final styling, professional photos, and listing copy that spotlights character and neighborhood amenities. Launch.
Who to call for a smooth sale
- A real estate advisor experienced with historic homes for pricing and buyer targeting.
- A professional stager with inventory that suits period architecture.
- A painter who understands historic finishes and gentle methods.
- A window restorer or preservation‑minded glazier for repair and storms.
- A licensed electrician for layered lighting updates.
- A flooring contractor experienced with older hardwoods.
- A preservation consultant or state contact if you may pursue tax credits.
Ready to sell with confidence?
You can honor your Tudor’s history and still deliver the bright, edited look buyers want. With the right plan and a disciplined eye, your Park Hill listing will feel timeless and market‑ready from the first photo to the final walkthrough. If you would like a tailored staging and prep roadmap, connect with Katherine Lillydahl to schedule a private consultation and complimentary home valuation.
FAQs
What defines a Park Hill Tudor style home?
- Key features often include steep gables, half‑timbering, brick or stone accents, arched entries, grouped casement windows with leaded or diamond panes, exposed beams, textured plaster, and a prominent fireplace.
Which rooms should I stage first to appeal to buyers?
- Prioritize the living room, primary bedroom, and kitchen because they drive buyer perception and listing photos. If budget is tight, stage these three before anything else.
Do I need permission to repaint my Tudor’s exterior in Park Hill?
- Park Hill is not currently listed as a local landmark district, but you should verify status on the city’s landmark district list before doing exterior work that might trigger review. Always confirm current rules.
How should I handle original leaded windows when selling?
- Keep them visible with simple window treatments, repair and weather‑strip as needed, and consider storm windows for comfort. Replacement should be a last resort and should match original patterns.
What are cost‑effective updates with strong impact?
- Decluttering, fresh neutral paint, updated lighting and hardware, partial staging of priority rooms, and refinishing worn hardwoods typically deliver outsized visual results without over‑spending.
Could Colorado preservation tax credits apply to my project?
- Possibly, if your work qualifies under current state rules. Program parameters changed recently, so contact the state program administrators early to confirm eligibility and caps before budgeting.